
در اين اموزش ياد مي گيريد كه چطور يك تصوير پرتره رو تبديل به طرح سياه قلم يا مدادي كنيد
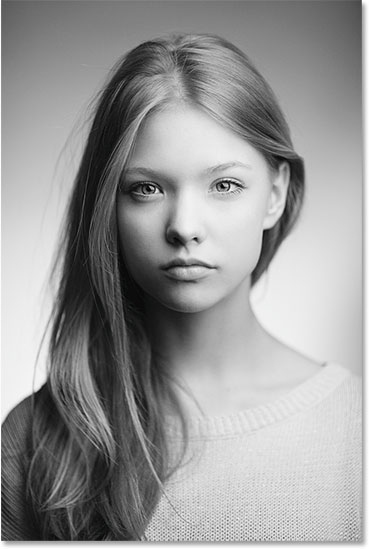
تصوير اصلي:

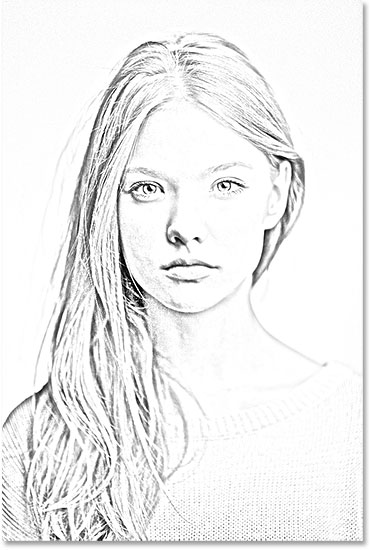
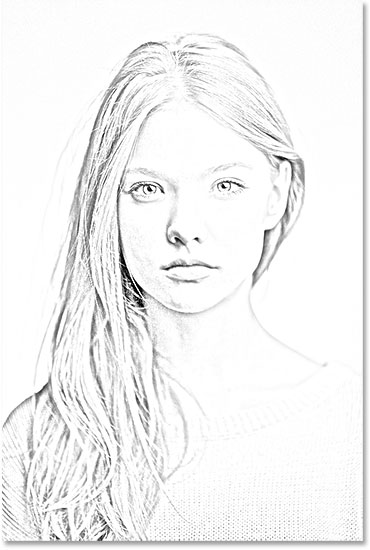
تصوير مدادي :
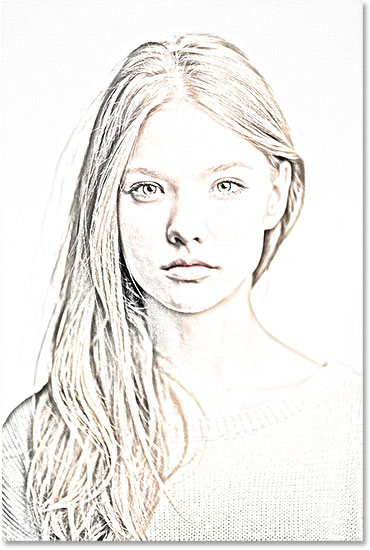
تصوير نهايي:
ابتدا تصوير را در فتوشاپ باز كنيد
بر روي آيكون adjusment در پنل لايه ها كليك كرده و heu/saturation را انتخاب كنيد
![]()
حالا بر روي لايه ي ساخته شده كليك كنيد
saturationاين لايه را برابر 100- قرار دهيد
مي بينيد كه تصوير سياه سفيد شده
بر روي لايه ي background كليك كنيد
اين لايه را duplicate كنيد (Ctrl+J)
بر روي لايه ي جديد كليك كنيد
حالا از روي صفحه كليد Ctrl+I را فشار دهيد
Image > Adjustments > Invert
تصوير invert شده
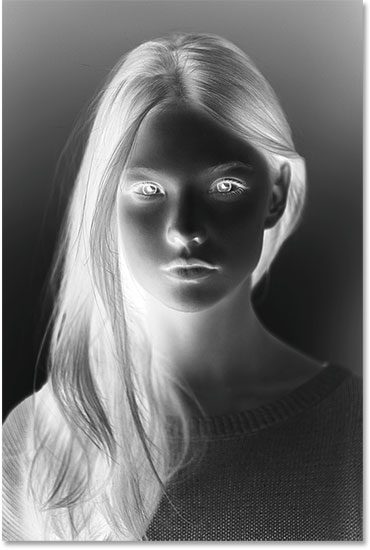
حالا blend mode اين لايه رو color dodge بگذاريد

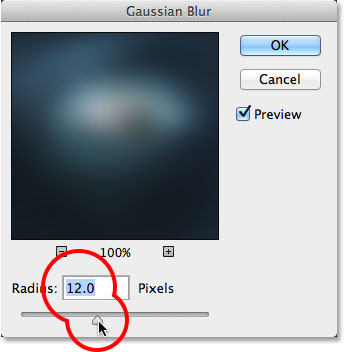
حالا بايد فيلتر bluR بش بديد به Filter > blur >gaussian blur برويد و مقدار آن را تغيير دهيد تا به نتيجه ي مطلوب برسد
اگه مي خوايد بعضي از قسمت هاشو پررنگ تر كنيد ابزار burn tool رو انتخاب كنيد

ديگه حوصله ندارم بگم چطوري رنگش كنيد خودتون تلاش كنيد چطور رنگي ميشه اگه اين آموزشو خوب دادم و قابل فهم بود نظر بديد يا دعام كنيد
 آموزش تصويري شروع به كار و يادگيري نرم افزار فتوشاپ Cs6
 آموزش تبديل يك تصوير به شبح در فتوشاپ
 آموزش تغيير رنگ چشم در فتوشاپ
 آموزش خلق يك پرتره در فتوشاپ
 آموزش خلق يك جفت چشم فانتزي در فتوشاپ
 آموزش كار با ابزار خط كش در فتوشاپ Ruler
 آموزش قرار دادن سر خود بر روي تصاوير ديگران با فتوشاپ
 نحوه طراحي ست اداري سربرگ + پاكت + كارت ويزيت با فتوشاپ
 آموزش طراحي يك عكس آتليه اي با فتوشاپ CS6
 آموزش ساخت مهر با فتوشاپ
 آموزش ساخت پوستر فيلم